How to Add a Chatbot to Your Shopify Store Without Code

Adding a chatbot for Shopify with no code is genuinely simple now. You build a bot, paste in your product, shipping, and return info, then drop one small script into your theme. No developer, no app subscription, no touching anything you do not understand.
I run Resulve, and most of the Shopify owners I talk to assume this needs an agency or a paid plugin. It does not. If you can edit your Shopify theme settings, you can do this yourself in one sitting.
Quick answer: Create a bot, feed it your store's FAQs and policies, copy the embed snippet, and paste it into your Shopify theme just before the closing body tag (or into a custom Liquid section). Test it on your phone, turn on human handoff, and you are live. Total time is usually under 10 minutes.
Let me walk you through exactly how I set this up for a store.
Why a chatbot for Shopify is worth it
Here is the pattern I see every week. A customer lands on a product page at 11pm. They want to know if you ship to Cebu, how long delivery takes, and whether they can return an item that does not fit. Nobody is around to answer. So they close the tab.
A chatbot catches those people. It answers the boring repeat questions ("Magkano ang shipping?", "Is this still available?", "How do I track my order?") instantly, day or night. You stop losing the late-night buyer, and you stop typing the same three replies fifty times a day.
The trick is grounding. A good store chatbot answers from your actual policies, not made-up nonsense. That is the whole point of doing this properly.
Step 1: Build the bot (no code)
Start by creating the bot itself. With Resulve you build a Resulve bot for free, and you get 100 free credits to test with, so you can see real answers before spending a peso.
When you create it, give it a name your customers will recognize, usually your shop name. Set a short welcome message, something like "Hi! Ask me about our products, shipping, or returns." Pick a friendly tone in the system prompt so it sounds like your brand and not a robot reading a manual.
This part is all clicks and typing. There is no code yet, and there will not be much later either.

Step 2: Add your store info as knowledge
This is the step that separates a useful bot from a useless one. Your chatbot is only as smart as what you feed it.
Paste in the questions your customers actually ask. I tell store owners to cover four areas:
- Products. Key details, sizes, materials, what is in stock, bestsellers, and care instructions.
- Shipping. Areas you deliver to, couriers you use, delivery times for Metro Manila versus provincial, and shipping fees.
- Returns and exchanges. Your window (7 days, 14 days), the condition items must be in, and how a customer starts a return.
- Payments. What you accept, GCash, Maya, cards, cash on delivery, and when payment is due.
You can paste raw text or point it at a page on your store. The bot chunks that content, turns it into something it can search, and answers from it. If your return policy says 7 days, the bot says 7 days. It will not invent 30.
Spend the most time here. Ten extra minutes of good FAQ content saves you hundreds of repeat replies later.
Step 3: Copy your embed snippet
Once the bot is built and fed, grab its embed snippet. In the dashboard this is a single short script tag tied to your bot's public key. You do not need to read it or change it. Just copy the whole line.
That one tag is what loads the chat bubble on your store. It is tiny, it loads after your page so it will not slow your store down, and it carries no secrets. This is the only "code" you will ever touch, and you are only pasting it, not writing it.
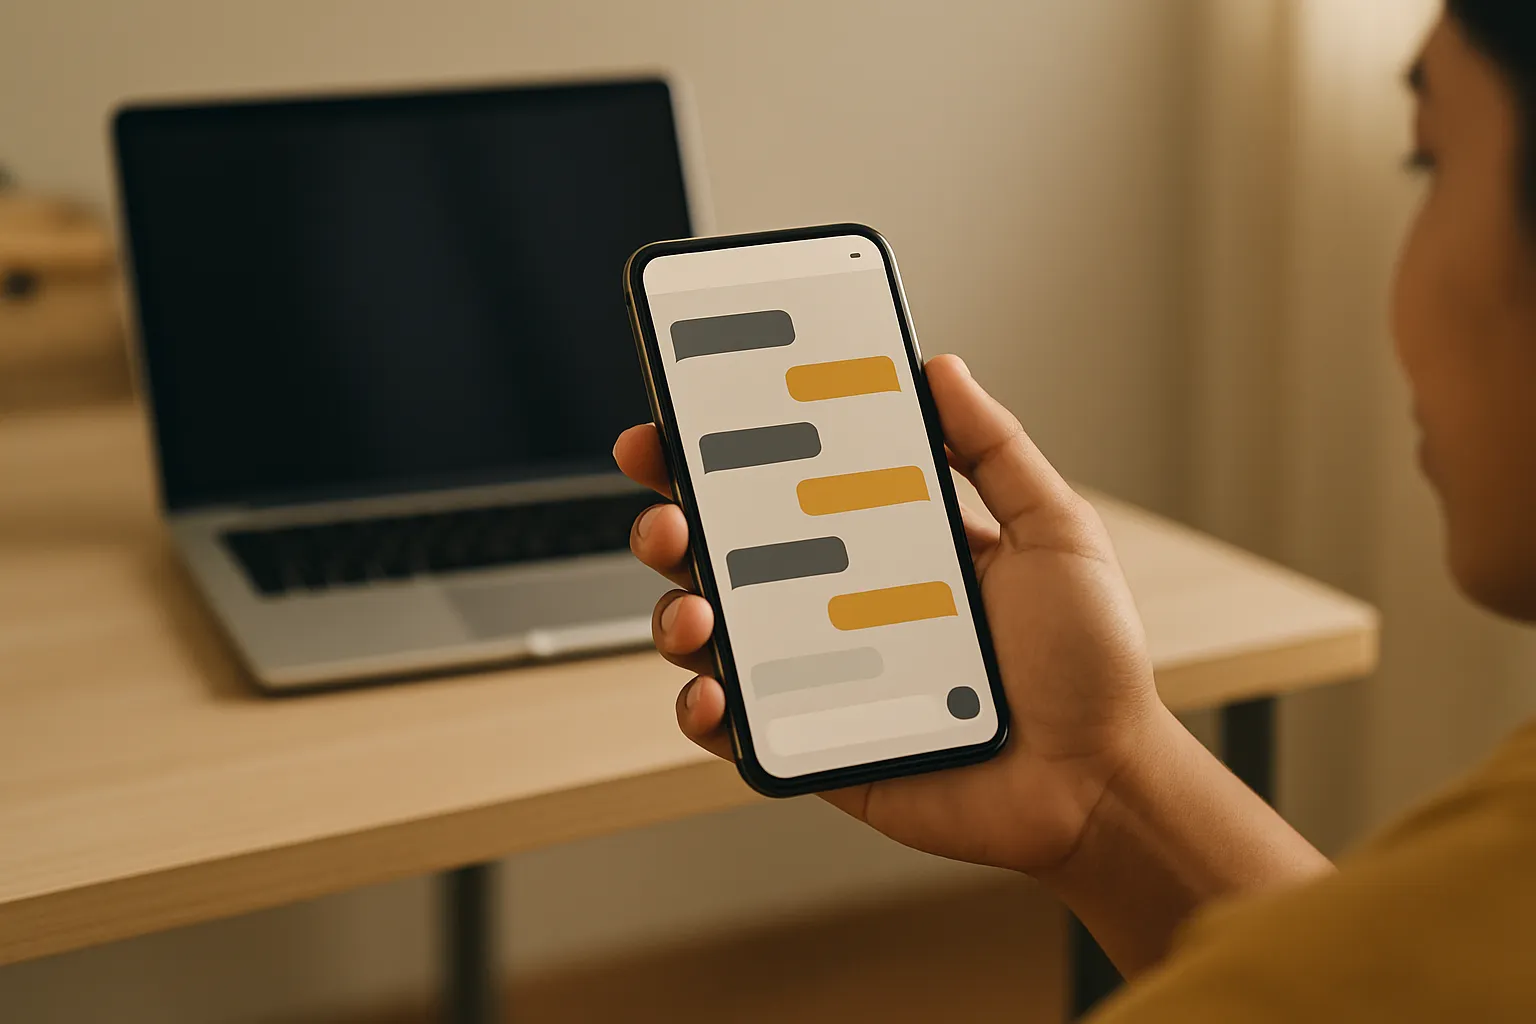
Step 4: Paste the snippet into your Shopify theme
Now the part everyone worries about. It is easier than it sounds.
In your Shopify admin, go to Online Store, then Themes. Find your live theme, click the three-dot menu, and choose Edit code. A file list opens on the left.
Look for the layout file named theme.liquid. Open it. Scroll all the way to the bottom and find the closing body tag (it looks like the word "body" wrapped in angle brackets with a slash). Paste your Resulve snippet on its own line just above that closing body tag. Hit Save.
That is it. Refresh your storefront and the chat bubble appears in the corner.
If editing theme code makes you nervous, there is an even gentler route. Many Shopify themes let you add a custom Liquid section or block from the theme editor (Customize, then Add section or Add block, then choose Custom Liquid). Paste the same snippet into that custom Liquid box and save. No file editing at all. Both methods load the same bubble, so pick whichever feels safer to you.
One tip: paste the snippet once, in theme.liquid, so it loads across every page. You do not want it duplicated on individual templates.
Step 5: Test it on mobile
Most Shopify traffic in the Philippines is on a phone, so test there first. Open your store on your own mobile, tap the chat bubble, and ask three real questions: a product question, a shipping question, and a return question.
Check that the answers match what you actually put in. Make sure the bubble does not cover your "Add to cart" button or your checkout. Open the chat, close it, scroll the page. If something feels off, you can adjust the bot's theme color and position from the dashboard without touching your store code again.
I always ask one weird question during testing too, something a real customer might type oddly, just to see how the bot handles it. If it answers confidently from your info, you are in good shape.
Step 6: Turn on human handoff
No bot knows everything, and pretending otherwise loses trust fast. Turn on human handoff so that when the bot is unsure, it says so and offers to connect the customer to a person instead of guessing.
This is the safety net. A customer asking about a custom bulk order or a damaged delivery gets routed to you rather than getting a wrong answer. It keeps the bot honest and keeps your reputation intact. For a store, that one setting is the difference between "helpful" and "embarrassing".
What this costs
You start with 100 free credits, which is plenty to test real conversations. After that, credit packs begin at 199 pesos, paid through PayMongo with QR Ph, so you can top up using GCash, Maya, or your bank app in a few taps. No monthly lock-in, no card required to start. You can see the full breakdown on our pricing page.
For a small store, this is far cheaper than a per-seat support tool or hiring someone to sit on chat all evening.
Frequently asked questions
Do I need a developer to add a chatbot to Shopify?
No. The whole point of a chatbot for Shopify with no code is that you paste one ready-made snippet into your theme. If you can reach Online Store, Themes, Edit code, you can do every step yourself.
Will the chatbot slow down my Shopify store?
No. The script loads after your page content, so it does not block your store from showing. The bubble is small and only opens the full chat when a customer taps it.
Where exactly do I paste the snippet?
In theme.liquid, just before the closing body tag, or into a Custom Liquid section from the theme editor. Either spot loads the bubble on every page. Paste it once so it is not duplicated.
What questions can the chatbot actually answer?
Whatever you feed it. Add your products, shipping zones, delivery times, return window, and payment methods, and it answers those from your real info. When it is unsure, human handoff sends the customer to you.
How much does it cost to start?
You get 100 free credits at signup, then credit packs from 199 pesos paid via PayMongo QR Ph (GCash, Maya, or bank app). There is no subscription required to go live, so you can launch and only top up when you need to.
Ready to try it?
Set up an AI receptionist that answers and books for your business — free to start.
Start free